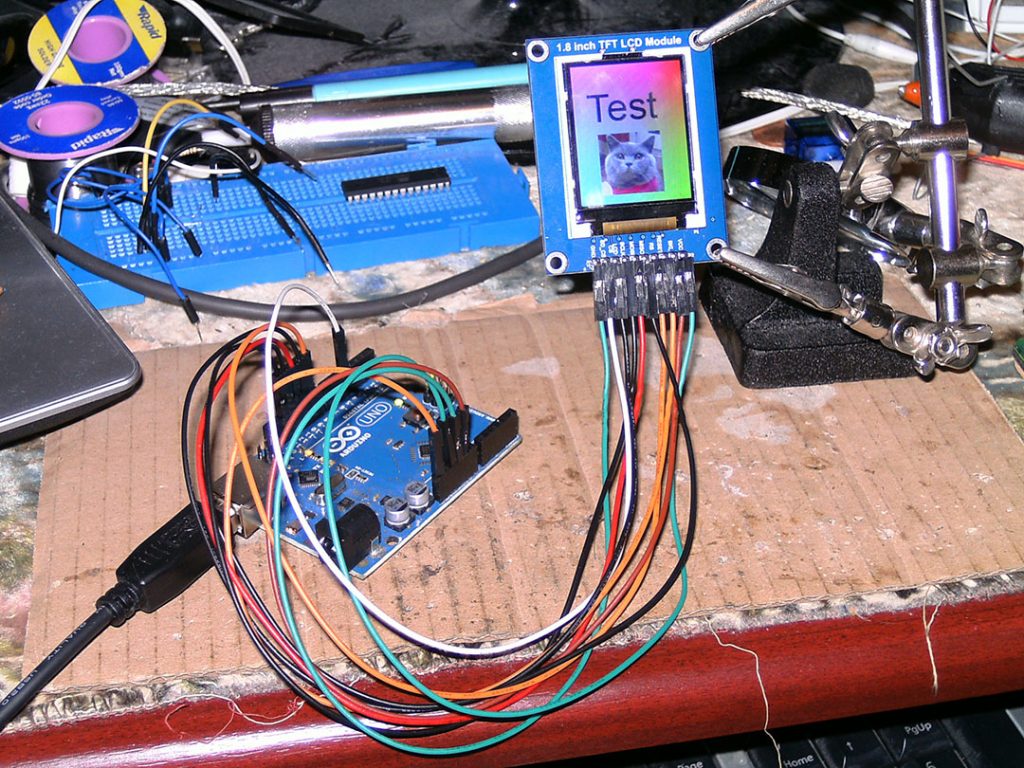
This is a rapid project I’ve worked on, using a 1.8-inch color LCD display from Ebay. The microcontroller code is very simple, initializing the display and then waiting for serial data to be sent directly to the screen. The host program handles image processing, opening the image and resizing it, displaying it in a preview window, and converting it to 12, 16, or 18-bit color during upload.
Additionally, I’ve added various interactive features to the preview window, including image rotation, scaling, and movement, making the project more practical and interesting.

Setup is wired as follows –
| LCD pin | Arduino Uno pin |
|---|---|
| VCC | 5V |
| BKL | GND |
| RESET** | RESET |
| RS | 9 |
| MISO* | 12 |
| MOSI | 11 |
| SCLK | 13 |
| LCD CS | 10 |
| SD_CS* | 4 |
| GND | GND |
* These are only needed if you’re using the SD slot on the back of the LCD
** Connect RESET to make the LCD reset along with the controller, if you don’t need that then leave disconnected or connected to 5V
Downloads
This article discusses three development directions for Arduino projects: buffering to SD cards, wireless data transmission, and increasing baud rates.
Firstly, buffering to SD cards can avoid seeing images slowly appear on the LCD screen during uploading. This method involves writing data to the SD card first and then loading it from the SD card to the LCD screen.
Secondly, wireless data transmission can be achieved using inexpensive Bluetooth modules, connecting them to the computer’s USB serial converter and the microcontroller’s serial input. The Bluetooth master module only needs to be configured once to connect to the slave module, thereby achieving serial-to-Bluetooth-to-serial conversion.
Finally, the author updated the article about baud rate, realizing that it’s possible to use baud rates higher than 115200, such as 921600 and 1382400. Using Arduino sketches, you can achieve higher baud rates, such as 230400 and 460800, by editing the code in the loop() function.
PORTB |= (1<<PORTB1);
PORTB &= ~(1<<PORTB2);
SPI.transfer(data);
PORTB |= (1<<PORTB2);
That code just reduces the number of CPU cycles it takes to send a byte over SPI so it has enough time to do everything else like receiving high speed serial data.


